

5 Underrated Vev Features You Should Be Using
February 25, 2022
Words by Sandra De Grandis

Whether you need to spruce up your existing website, build a responsive landing page, or put together an eBook or a sales presentation, you want a design platform that gives you the freedom and tools to create without limitations. Fortunately, you’ve come to the right place - there are countless features in Vev that you can use to flex your creative muscles and up your content wow factor.
You may have already come across some of them while using Vev, but there might be a few that slipped under your radar. We’re here to shed some light on a couple lesser-known features and how they can help you achieve your design goals.


1 - Isometric View
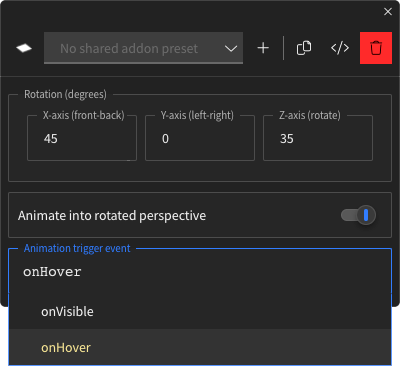
Isometric view is an add-on that applies a three-dimensional transformation to the layer, which makes 2D objects appear 3D. With this feature, you also have the option to rotate layers along the x, y and z axis.
You can apply isometric view to any element. Just click on the attach add-on to element icon in the design editor, scroll until you find isometric view and select attach add-on. You’ll then be able to choose how many degrees you want your design elements to rotate along each of the axis lines. It’s super easy to change the degree of rotation so feel free to play around with this option until you find what’s best for you.
You’ll also notice a toggle button that reads animate into rotated perspective. If you select this option then you have two ways you can trigger the animations.
onVisible: The layer will transition as you scroll up or down the page.
onHover: The layer will transition when you hover over it with your mouse.
Once you move your mouse outside the layer, then it reverts back to its non-rotated position.
You can also choose not to select animate into rotated perspective, which leaves the layer as is. You can still change the rotations on the x, y and z axis, but it will not animate.
Isometric view is a simple, yet fun add-on tool that makes your designs pop. With a few simple clicks, you can bring some depth and realism to static elements such as images, icons, text and infographics. Whether you need to refresh a landing page or create more detailed visuals, this feature brings dull, flat designs to life.
180 X-axis (front to back)
180 Y-axis (left - right)
180 Z-axis (rotate)
45 X-axis (front to back)
0 Y-axis (left - right)
35 Z-axis (rotate)
[image/graphic relating to above]
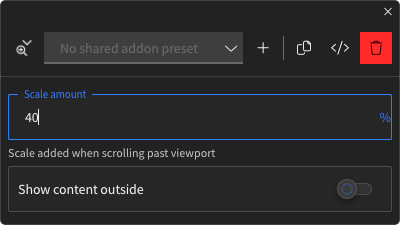
2 - Scroll Zoom
Another fun little add-on is the scroll zoom, which is also found under the attach add-on to element icon. With this feature, you can change the zoom percentage of an element as it comes into view. The element itself stays in a default size, but when you scroll down the screen it will progressively get larger according to the percentage number you set. As you scroll back up the screen, the element will slowly revert back to its default size. This is the perfect add-on to use if you want to add (no pun intended!) a little bit of animation without going overboard.
Under scroll zoom you will find a show content outside toggle. When selected, the entire element will zoom in as you move down the screen.
If you keep this option turned off, then the only part that zooms in is the element found inside the border.
[image/graphic relating to above]
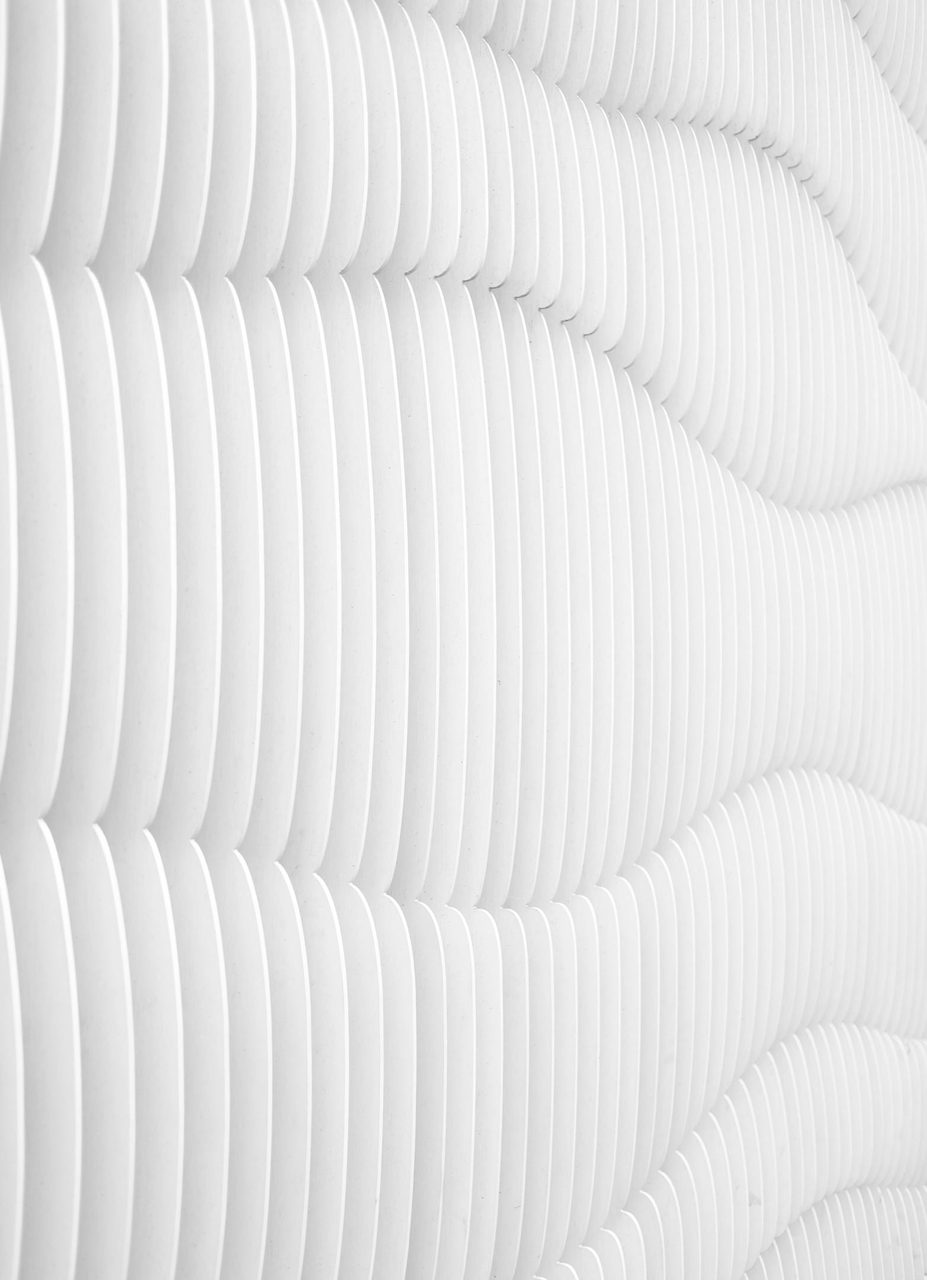
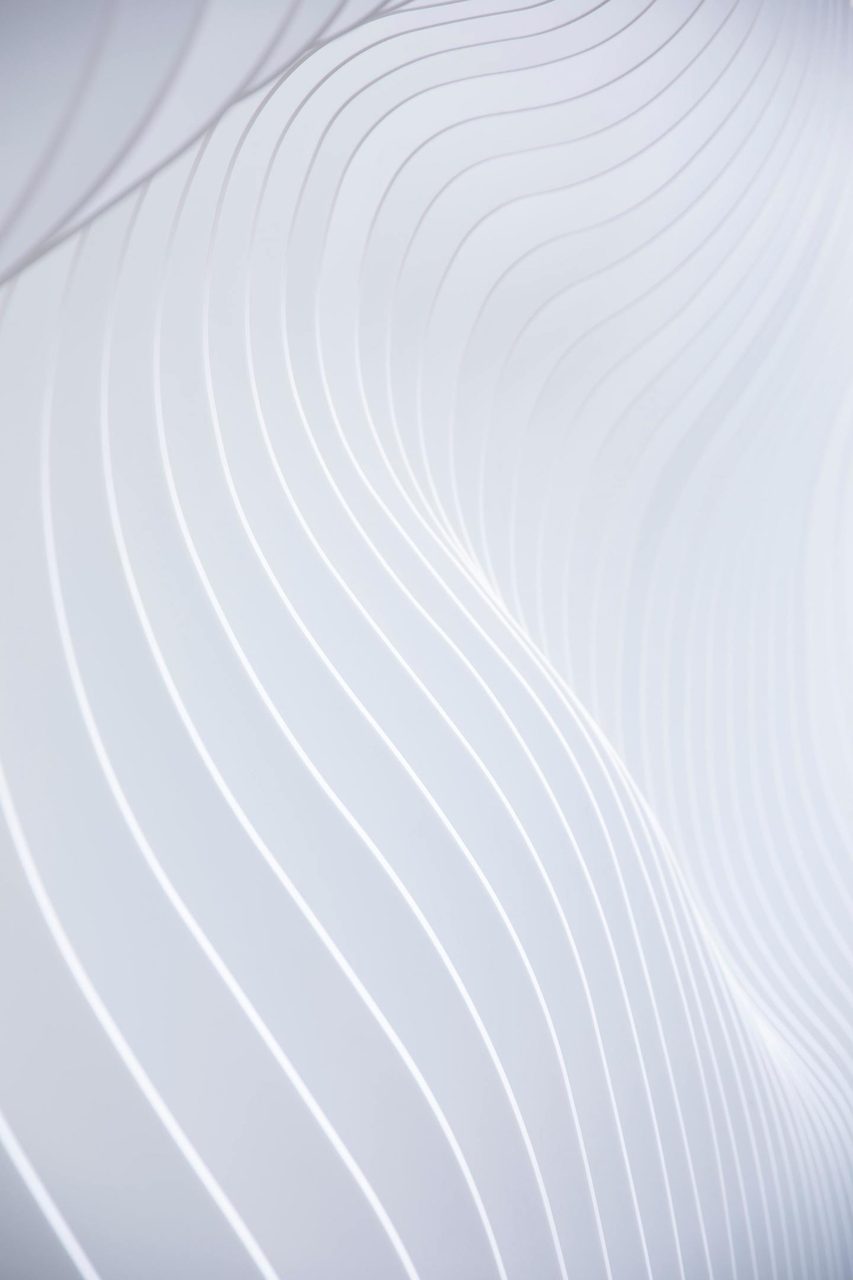
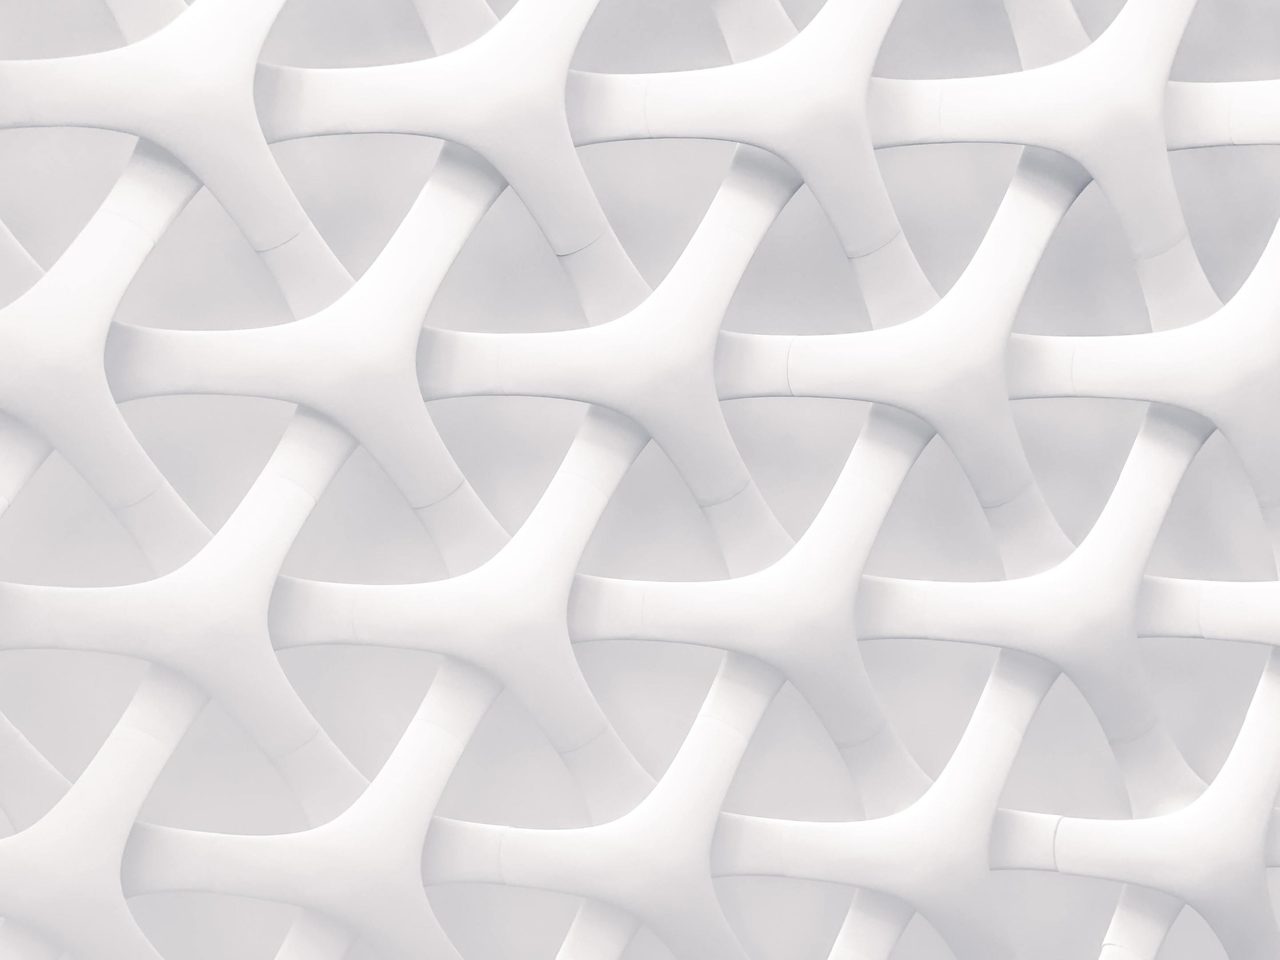
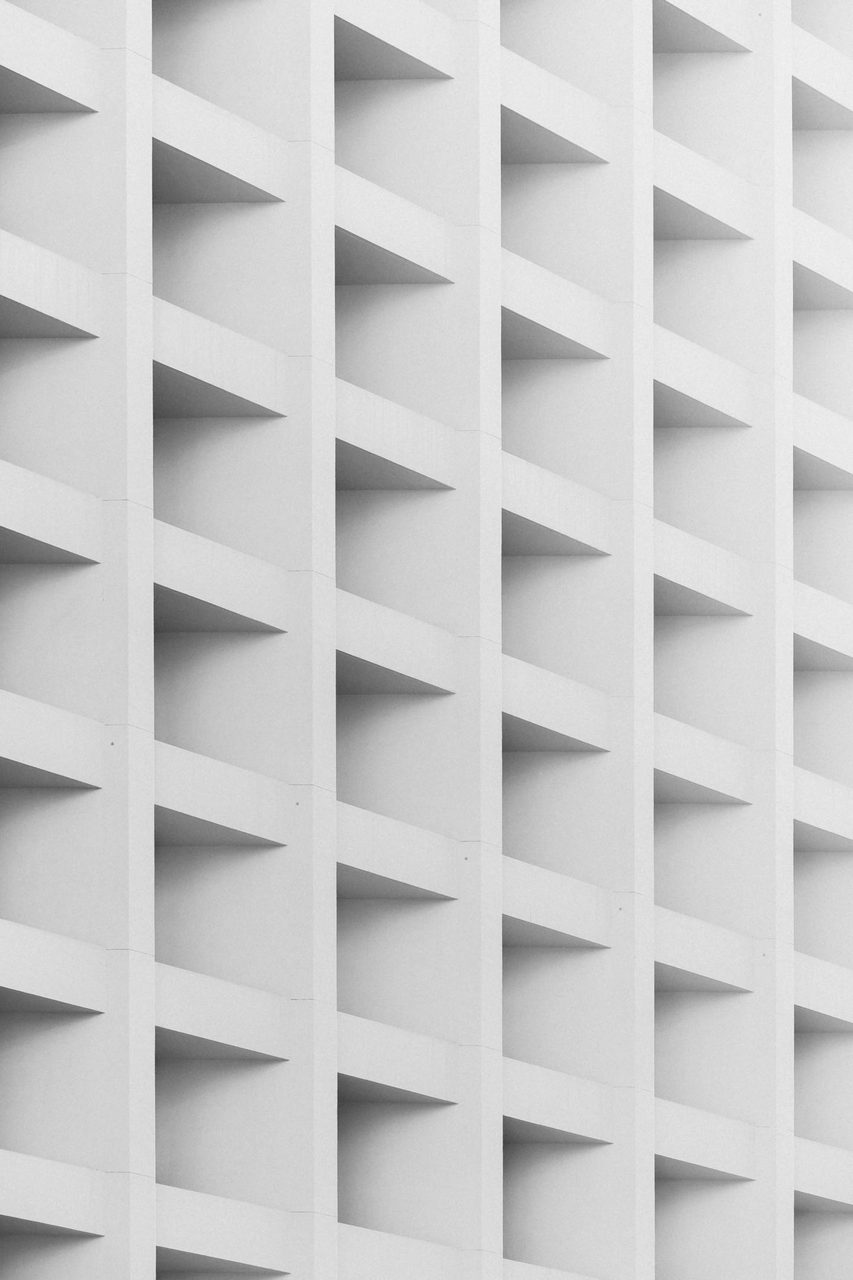
3 - Multi-Layer Image Parallax
There’s also another method of adding a bit of depth and motion to your design creations, which is the multi-layer image parallax. What’s neat about this feature is that the image looks like it’s constantly moving as you scroll up and down the screen. All you need do to recreate this simple animation is add multiple layers of a background and foreground image. If you’re handy with photoshop, you can use your skills to cut out the part of the image you want animated and then apply it to multi-layer image parallax to create the layers. These layers then move at different speeds and directions. It sort of looks like an optical illusion or a 3D effect, minus the complex steps and training needed to create such a cool effect.
To find the multi-layer image parallax, go to attach add-on to element and then look for it under the section column.
[image/graphic relating to above]
[image/graphic relating to above]
Put in images
4 - Sliding Share Button
Having a social media presence has been a must for over a decade at this point. It helps increase exposure and brand recognition, improves search rankings, has the ability to drive leads and sales, and is a great way to connect with your target audience and build brand loyalty. It’s probably safe to say that most, if not all websites out there have share buttons or icons somewhere on their site. These icons are usually static, but did you know you could animate them as well?
With the sliding share button feature, you can sprinkle some fun into the social media icons we’ve all come to know and love. It’s possible to change the icon shape size and even make it bigger, which helps accommodate all users and makes them easier to read. Or, animate the icons to slide in from the left or right side of the screen as they come into view. While this may not be the most jaw-dropping feature, it’s nice to know that you can customize popular elements that are often overlooked.
Look for the sliding share button feature under element, which you can find by clicking on the attach add-on element icon.
Close
Share
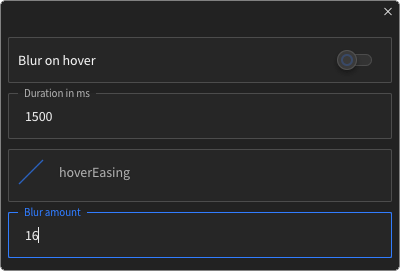
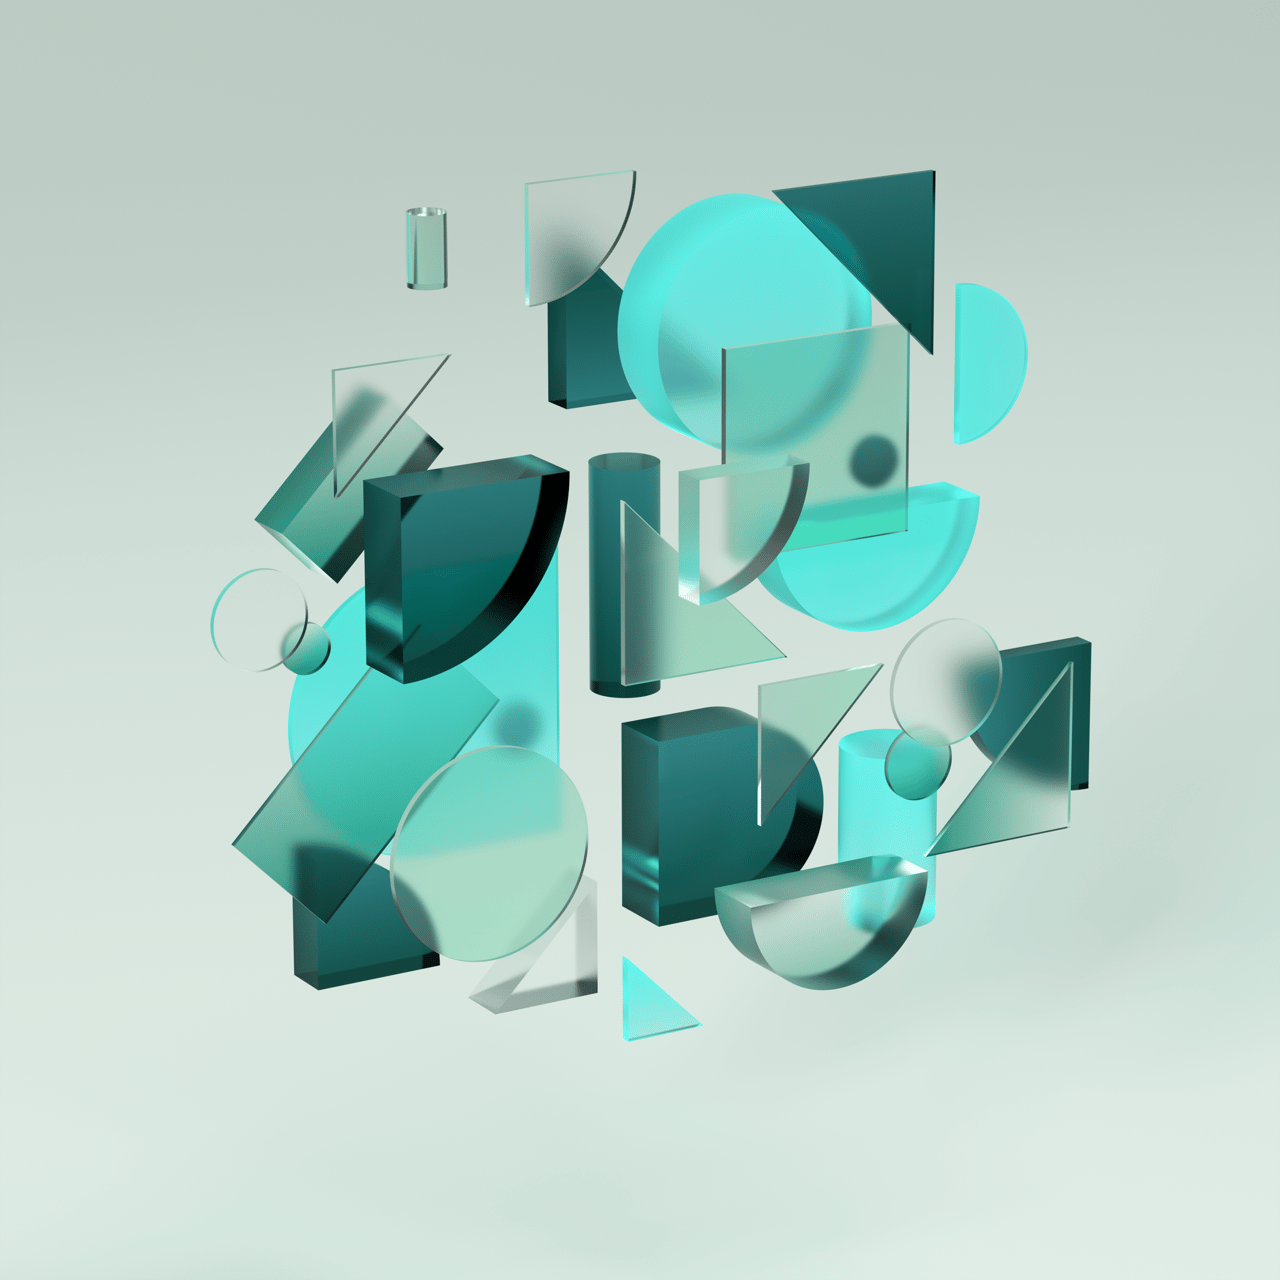
5 - Blur
The blur feature is a great way to add the popular glass morphism effect to images, text, graphics, interfaces and more. It creates a frame that blurs out the background, giving it a frosted glass look which provides some depth and transparency to your designs. You also have the ability to control the blur percentage, so it can either be slightly blurry or completely blurred to the point where you can’t see any background.
1
2
3
4
Why use blur? If you’re looking to achieve a multi-layered appearance or would like some contrast between light and dark elements, then this feature will definitely help with that. It can also give your designs more depth, albeit in a different way than isometric view.
Just like the other features, blur is found under attach add-on element, but under the element section.
This is just the tip of the iceberg when it comes to what you can do with Vev. For more tips and tricks, check out our in depth-video lessons and upcoming webinars.
Add Blur Effect